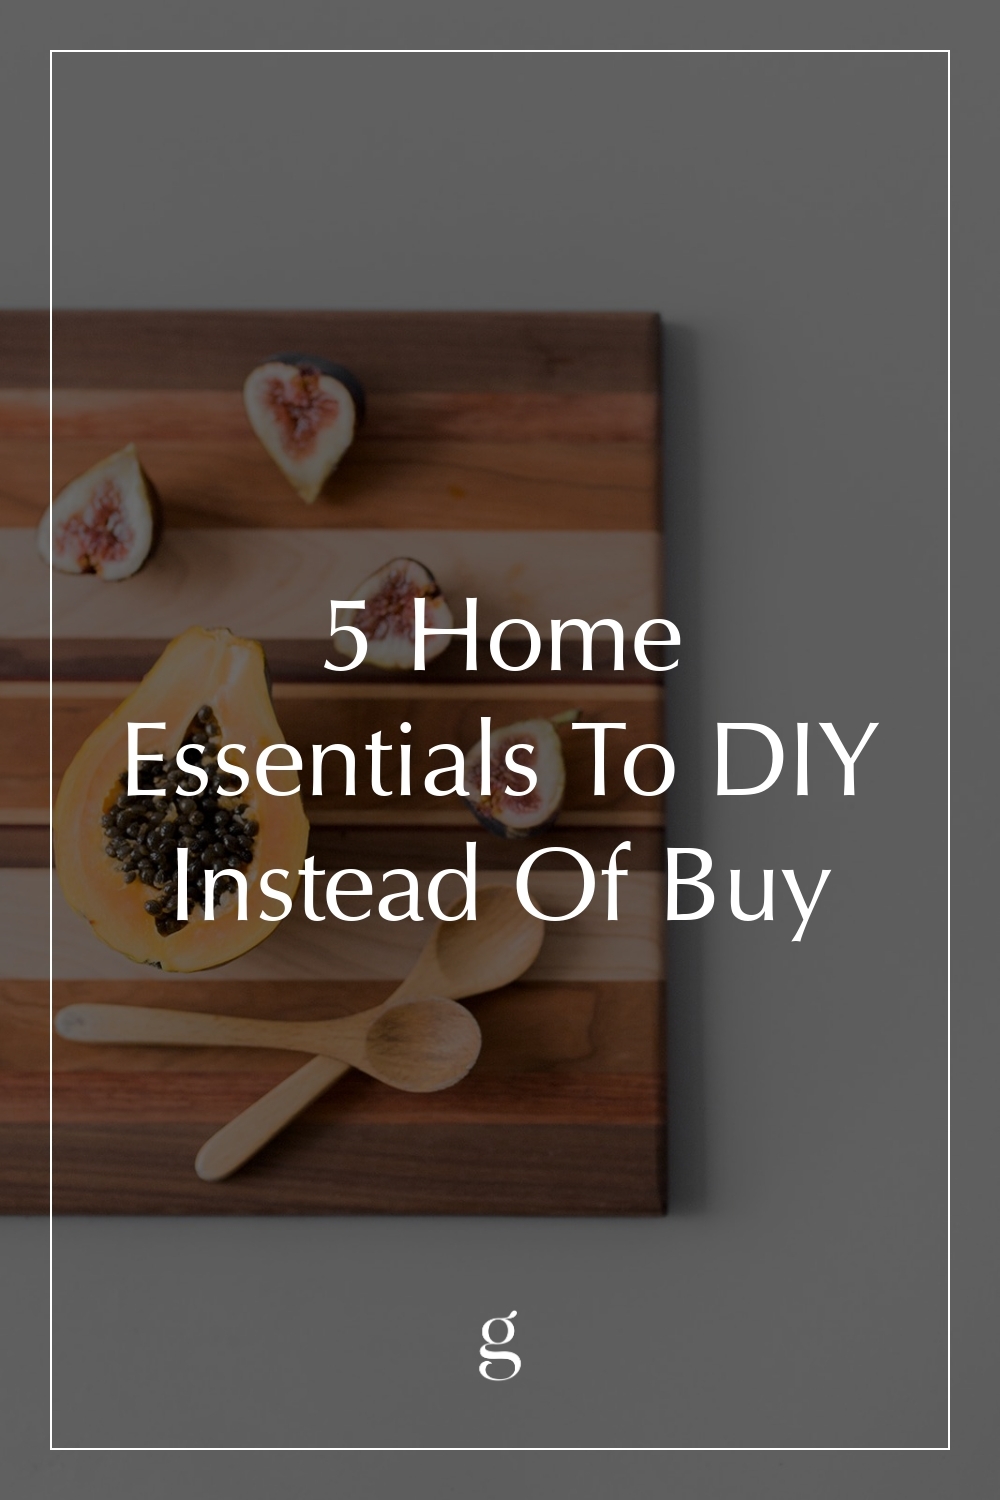
5 Home Essentials To DIY Instead Of Buy

Minimalist Home Products You Can Make Yourself
Let’s be honest for a minute. Organic, natural, zero-waste, nontoxic products? They can be expensive. This is especially true for those of us who live in the city. Paying rent and making enough to cover the bills can be challenging enough, and rarely is there money left over to afford organic foods and nontoxic products.
This reality can be defeating. And while Instagram tells us we can grow food and make products and learn to sew our clothes, few of us have the space or time for DIY living. My flat, for example, is less than 300 square feet, and most days, I’m lucky if I have time to cook a meal.
That’s why I love these simple and straightforward DIY products. Most of them take less than ten minutes to make, and they are so basic they can be whipped together in the smallest kitchen. Incorporating these recipes into my busy urban life allows me to feel like I’m doing my part and making eco-conscious choices—even during the seasons of life when I can’t afford to buy the greenest and most ethical products.
So for the city-dweller, the student, the professional working long hours, (and really for anyone seeking DIY recipes), these are for you.
1. All-Natural Cleaning Spray
DIY cleaning sprays were the first thing I made when I moved to the city. Having spent the last three years living in rentals, I needed nontoxic and affordable sprays to scrub every inch of my flats before moving in. Making these cleaners from scratch was not only quick and easy, but also affordable and rewarding. Instead of making my home smell like bleach and chemicals, the essential oils and infused vinegar left behind earth-inspired scents. If you’re new to making your own products, I recommend starting here.
My Favorite Recipe | Lemon & Tea Tree Oil Cleaning Spray by The Gypsy Blend Co.
Ingredients | Glass spray bottle, lemon & tea tree essential oils, white vinegar, water
Make It Your Own | Once you get the hang of the base recipe, try making your own variations. Swap in other essential oils, infuse your vinegar with leftover citrus peels, add a tablespoon of Dr. Bronner’s soap, or throw in a few sprigs of fresh herbs. Then, when you’re ready, try making our favorite DIY air freshener and linen sprays.
2. Homemade Elderberry Syrup
If you live in the city, you know there is no such thing as cold or flu season—sickness is a constant struggle. With public transport and congested sidewalks, I can catch something any time of the year. That’s why I love this homemade elderberry syrup for combatting germs. It’s cheap, easy to make over the weekend, and stores well even in the smallest refrigerator. If you’re not familiar with elderberry yet, read about its immune-boosting magic here.
My Favorite Recipe | Cold & Flu Elderberry Syrup by Divas Can Cook
Ingredients | Water, cinnamon sticks, dried elderberries, tea bags, apple cider vinegar, raw honey
3. Veggie Broth from Vegetable Scraps
I haven’t figured out a way to compost in my tiny flat yet, so I love that homemade broth allows me to use my vegetable scraps before discarding them. It also saves me money—organic broth sans all the chemicals and preservatives is expensive. If you love soups like me, this DIY is for you. Simply store your veggie scraps in a freezer bag. Once it’s full, you’re ready to whip up a batch of hearty broth.
My Favorite Recipe | 1-Pot Vegetable Broth by Minimalist Baker
Ingredients | Veggie scraps (carrot peels, kale stems, bell pepper toppers, etc.), water, salt & pepper, garlic cloves, bay leaves, tomato paste
Make It Your Own | Minimalist Baker’s recipe is very flexible, which makes this perfect for using what you have in your kitchen. I also opt for making my veggie broth in a crock pot so that I can let it sit all day while I’m at work. Once it’s finished, I strain the broth and divide it into glass jars (I do this in the winter, or when I know I’ll be using it up within the week), or I freeze the broth in ice cube trays for future use.
4. Homemade Salad Dressing
City life is often fast-paced, so having ready-made meals in the refrigerator is key. Rarely do I want to cook after a long day and, to avoid eating take-out, it’s essential that I have a healthy meal waiting for me at home. Nothing inspires me to eat fresh produce more than a colorful and tasty salad dressing. Whether I make an actual salad or just use the dressing to spruce up a plate of roasted veggies, having a jar on hand ensures I’ll make healthier eating choices. It also saves me a lot of money and keeps single-use dressing bottles out of the landfill.
My Favorite Recipes | Vegan Caesar Dressing by Oh She Glows; Avocado Dressing by Jessica in the Kitchen
Ingredients | Caesar dressing: cashews, water, olive oil, lemon juice, dijon mustard, garlic, capers, Worcestershire sauce, salt & pepper; Avocado dressing: olive oil, garlic, water, lime, avocado, parsley or cilantro
Make It Your Own | Salad dressings are one of the easiest things to make and, truth be told, they taste so much better than store-bought dressings. You can do some quick googling to find recipes or even experiment on your own. Most call for olive oil and acid (citrus or apple cider vinegar). From there, you can play with the ingredients to find the flavors you love.
5. Natural Candles with Essential Oils
I go through a lot of candles. Living in a city where it’s cold nine months out of the year means a warm flame helps lift my mood and gives a cozy ambiance to my tiny home. Candles can be expensive though—especially natural, nontoxic ones. This past winter, I decided to try making my own. It’s not the simplest DIY product on this list, but it’s one of my favorites. It also cuts back on container waste because I can reuse my candle jars over and over again.
My Favorite Tutorial | DIY All-Natural & Nontoxic Candles by itsblitzzz (video tutorial)
Ingredients | Double boiler or pour pitcher, wicks, thermometer, wax, essential oils, chopsticks, scale, mixing spoon, glass containers
Tips & Tricks | There are numerous tutorials out there for making candles at home, so I recommend watching a few first to see what will work best for you. For example, I love this tutorial by itsblitzzz, but opted out of buying a scale and chopsticks. Instead, I use pens and pencils that I already have in my flat to keep the wicks in place, and I eyeball the amount of wax I need rather than measuring it out. After making a few batches, you’ll discover your own methods too.
RELATED READING

Kayti Christian, a staff writer for The Good Trade, is a storyteller, creator, activist, and avid traveler hailing from Colorado, now living in London. With 30+ stamps in her passport, she is passionate about responsible tourism and is always looking for new ways to be a more conscious traveler. She is currently pursuing her MA in Creative Nonfiction Writing at City, University of London.