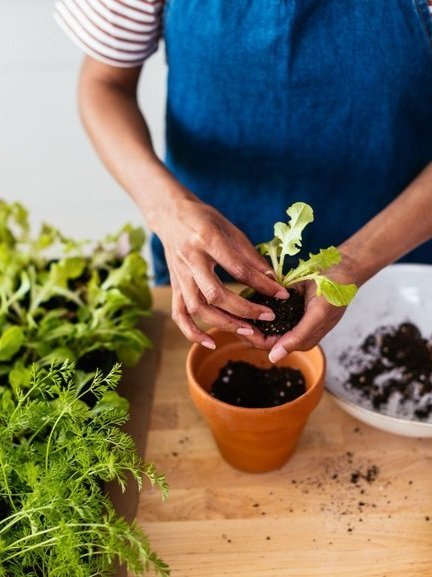
Your Guide To Growing Your Own Microgreens This Winter
🌱 Grow Greens At Home 🌱
In the midst of these winter blues, I’m feeling the need for a little more green. Even in the sunny and snow-free southern California, the winter still means my vitamin intake is a little leaner, and my cravings for raw foods even moreso. (Give me warm mac & cheese forever, please.) But my mother, a Master Gardener residing in the snowy midwest, has rather successfully endeared me to the idea of growing edible plants in my home—starting with microgreens.
Simply put, microgreens are baby plants—no more than two weeks old—that have not yet achieved their true leaves. Instead, they tout their cotyledons, the generic-looking leaves that first appear when a plant is sprouting. Think of the sprout emoji—that’s what these baby leaves look like! 🌱
They are not the same as sprouts, though. Microgreens are grown in soil and watered infrequently, while sprouts are grown with no medium and require frequent moisture to grow. This makes sprouts susceptible to bacteria growth and contributes to why they’re difficult to come by in restaurants and grocery stores.
“Microgreens are baby plants—no more than two weeks old—that have not yet achieved their true leaves.”
Microgreens grow quickly and are simple enough to grow with an affordable at-home setup. But the best part?
According to nutritional research, scientists found that “in general, microgreens contain considerably higher concentrations of vitamins and carotenoids than their mature plant counterparts.” Up to 40 times more essential nutrients like vitamin E, vitamin K, and vitamin C.
Microgreens are an excellent and versatile addition to salads, soups, sandwiches and more. Plus—no need to cook them as they retain most of their nutritional value when consumed raw! They can even offer supplementary nutrition to pets like cats, dogs, and rabbits; just be sure to ask your veterinarian before sharing any with your furry friends.
These teeny greens can also be grown using less land and transportation costs than grocery store produce—because you can easily grow them at home! They can be grown year-round, which means you get a sprinkle of fresh, local produce no matter how much snow is (or isn’t) on the ground.
Whether you start with a little makeshift tray in an apartment kitchen or go all-in with a stacked vertical garden, there’s a growing style (and a flavor) that fits your needs. Here’s how!
Gather Supplies
Many of the supplies for growing microgreens can be purchased locally, secondhand, or upcycled from items you already own. For any supplies you need to buy, look for quality and longevity, so you don’t need to re-purchase again and again. Here’s what you need to gather:
-
Watering trays with drainage. Microgreens are incredibly fragile and rely on the support of one another to stay standing strong (like all of us!) So it’s best to nestle trays with drainage inside growing trays without holes. You can purchase these online, at your local nursery, or—my favorite—upcycle them from packaging you already have. Think plastic tomato or strawberry clamshell containers, old Tupperware with holes drilled in, or even paper egg cartons (you won’t be able to reuse these often though). Set the containers on a deep cookie tray so you can easily see when the greens need water.
If you’re feeding a family of four microgreens regularly, you’ll eventually want two to three trays that are 10”x20” each week, but start small!
-
Soil. In a perfect world, we’re all able to don straw hats and meander down to the nursery to purchase their lovingly composted and locally mixed soils, so we know exactly what goes into our planters. (You’ll want to ensure the soil is safe and suitable for growing food, specifically microgreens.)
For my fellow city dwellers or those without access to such localities, it’s okay to use commercial soil you find at Lowe’s or your local hardware store—opt for organic if you can, and look for additives like coconut coir and perlite. These keep the soil light so the microgreens can take root.
“Many of the supplies for growing microgreens can be purchased locally, secondhand, or upcycled from items you already own.”
-
Lighting (and timers, too). Lighting is a crucial element for the success of your microgreens, and you’ll need to use artificial lights (unless you get 12 hours of sunlight a day in your home—in which case, can I come over??). An ordinary desk lamp won’t do, but there are affordable ways to pull together a lighting setup than purchasing a grow light rig. You can upcycle an old fluorescent shop light or add a new bulb to an overhead desk lamp—just look for at least 2,000 lumens and a light temperature of around 6,500 Kelvins (K). Get as many watts as your light fixture can safely handle.
Adding in an outlet timer can be handy so that you don’t have to worry about turning your lights off—or worse, forgetting to turn them on. (Baby microgreens do not fare well without their sunshine—again, just like us!)
-
Seeds. And now for the fun part: You can grow microgreens from nearly any seed you’d like. But don’t just go grabbing sunflower and chia seeds from Kroger—you’ll want seeds that are specifically intended for planting. First of all, seeds at grocery stores may not be appropriately prepared to germinate (nothing worse than goopy seeds and no plants). And secondly, the size of the seed also influences whether or not you’ll need to soak them before planting.
You can purchase seeds at your local tractor supply store, nursery, hardware store, or even a microgreens grower at the farmers’ market. True Leaf Market and Home Microgreens have bulk seeds available, or you can even go with a setup from Hamama if you’re not as confident in your DIY skills. Here’s a cheat sheet for popular microgreens and their grow time, but my mother, the gardening whiz, is setting me up on the greens she’s found easiest so far: broccoli, radish, kale, and arugula.
How To Grow Microgreens
Gathering your materials may be the most time-intensive part of this whole process because once your greens get growing, they’re growing, baby! Here’s a step by step:
1. Fill your container (with drainage holes) with roughly one inch of soil. Place it in the base container that doesn’t have holes, and water the soil so that the top half (roughly half to two-thirds of an inch) is damp.
2. Sprinkle your seeds, as my mom told me, “like you’re sprinkling salt.” Try not to let them clump or overlap too much, and instead focus on a thick and even spread across the top of the soil. Mist them with water, but don’t put more soil on top.
3. Next comes the “blackout period,” where you foster root growth. Cover your seeds with a moist paper towel or newspaper and keep out of sunlight, or place a cookie tray on top with a small amount of weight applied—you’ll want to gently push the seeds into the soil, so the roots grow down before the plants grow up. Keep the seeds moist and out of light for 48 hours; they’ll be ready to receive light once they have visibly germinated (meaning you can see shoots coming out of the seeds).
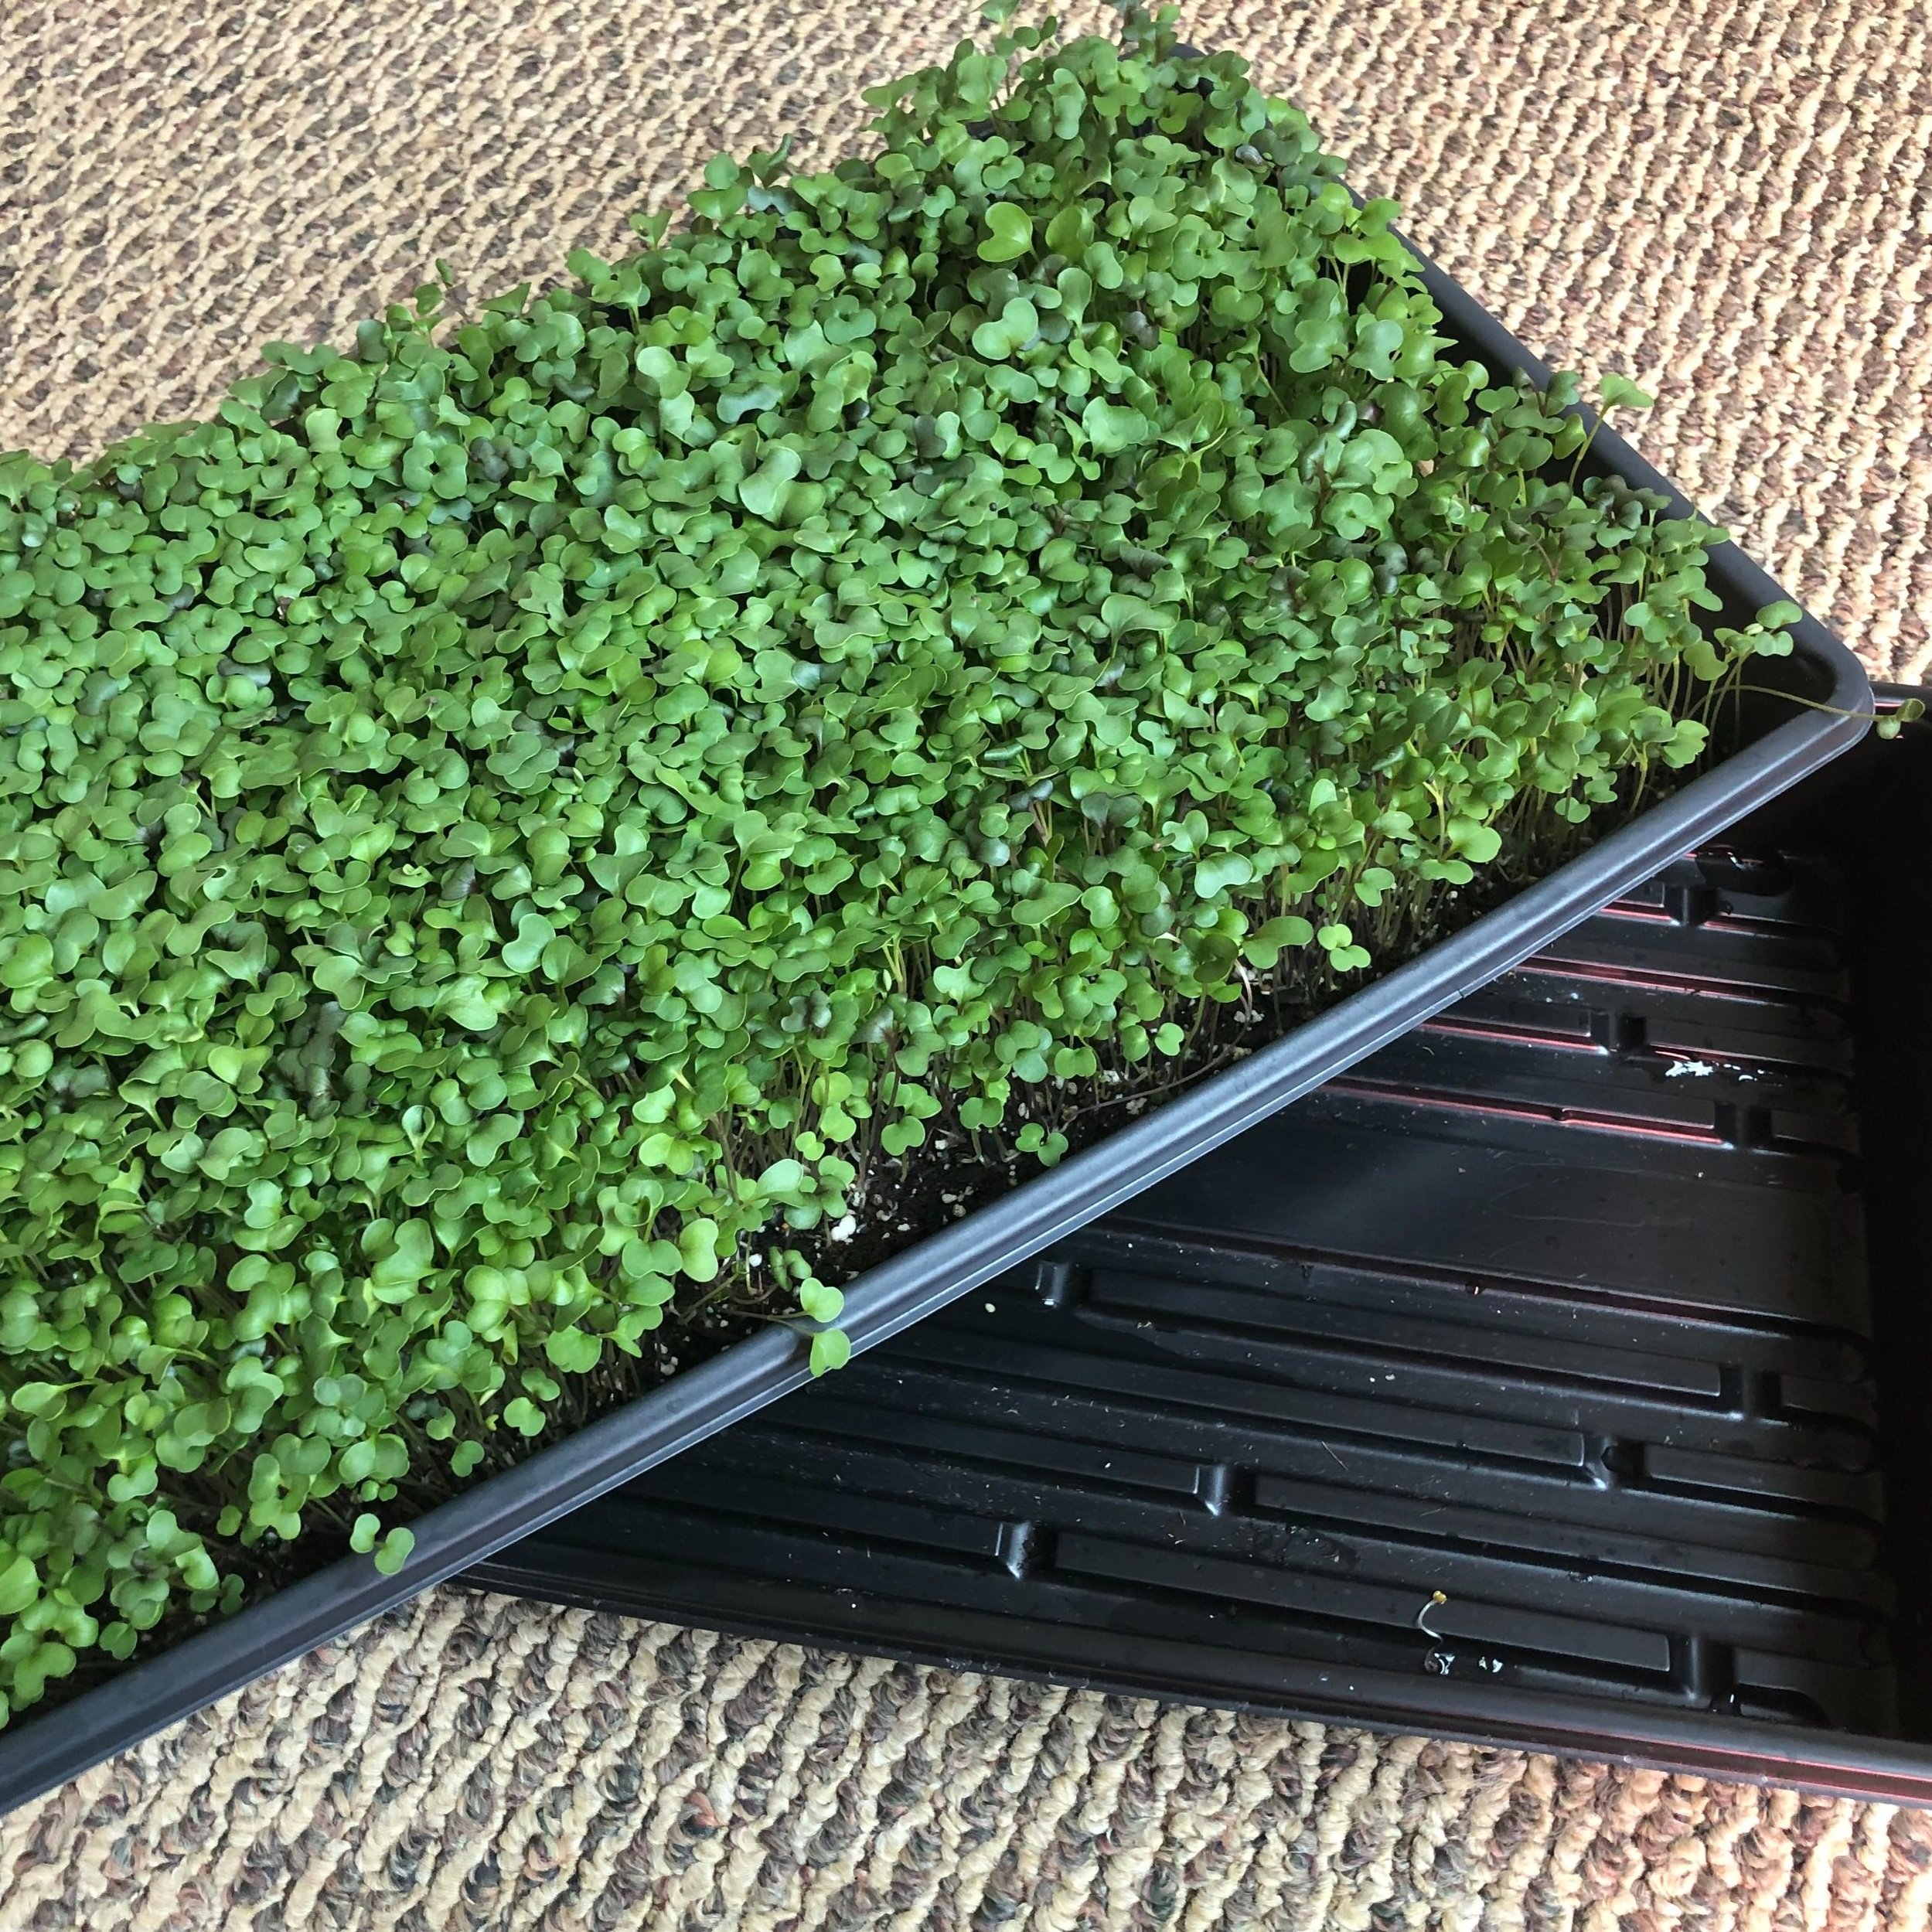
“Depending on the variety, your seedlings will be ready to harvest in seven to 10 days […] once the seedlings stand two to three inches tall and have bright green leaves.”
4. Place your seed tray about five to seven inches under your chosen growing light. Don’t worry if your microgreens look yellow or a little “fuzzy” at this stage—once they get some light for photosynthesis, they’ll spruce up!
5. Check your greens every one to two days to ensure that the soil is moist but not soggy. If the soil is dry or the tray feels light, add more water to the bottom container so the soil can act as a wick for the moisture. Keeping your microgreen planters indoors will ensure they stay at a steady temperature—ideally, at least 68 degrees Fahrenheit (or 20 degrees Celsius). Generally, if it’s comfortable for you, it’s comfortable for the greens.
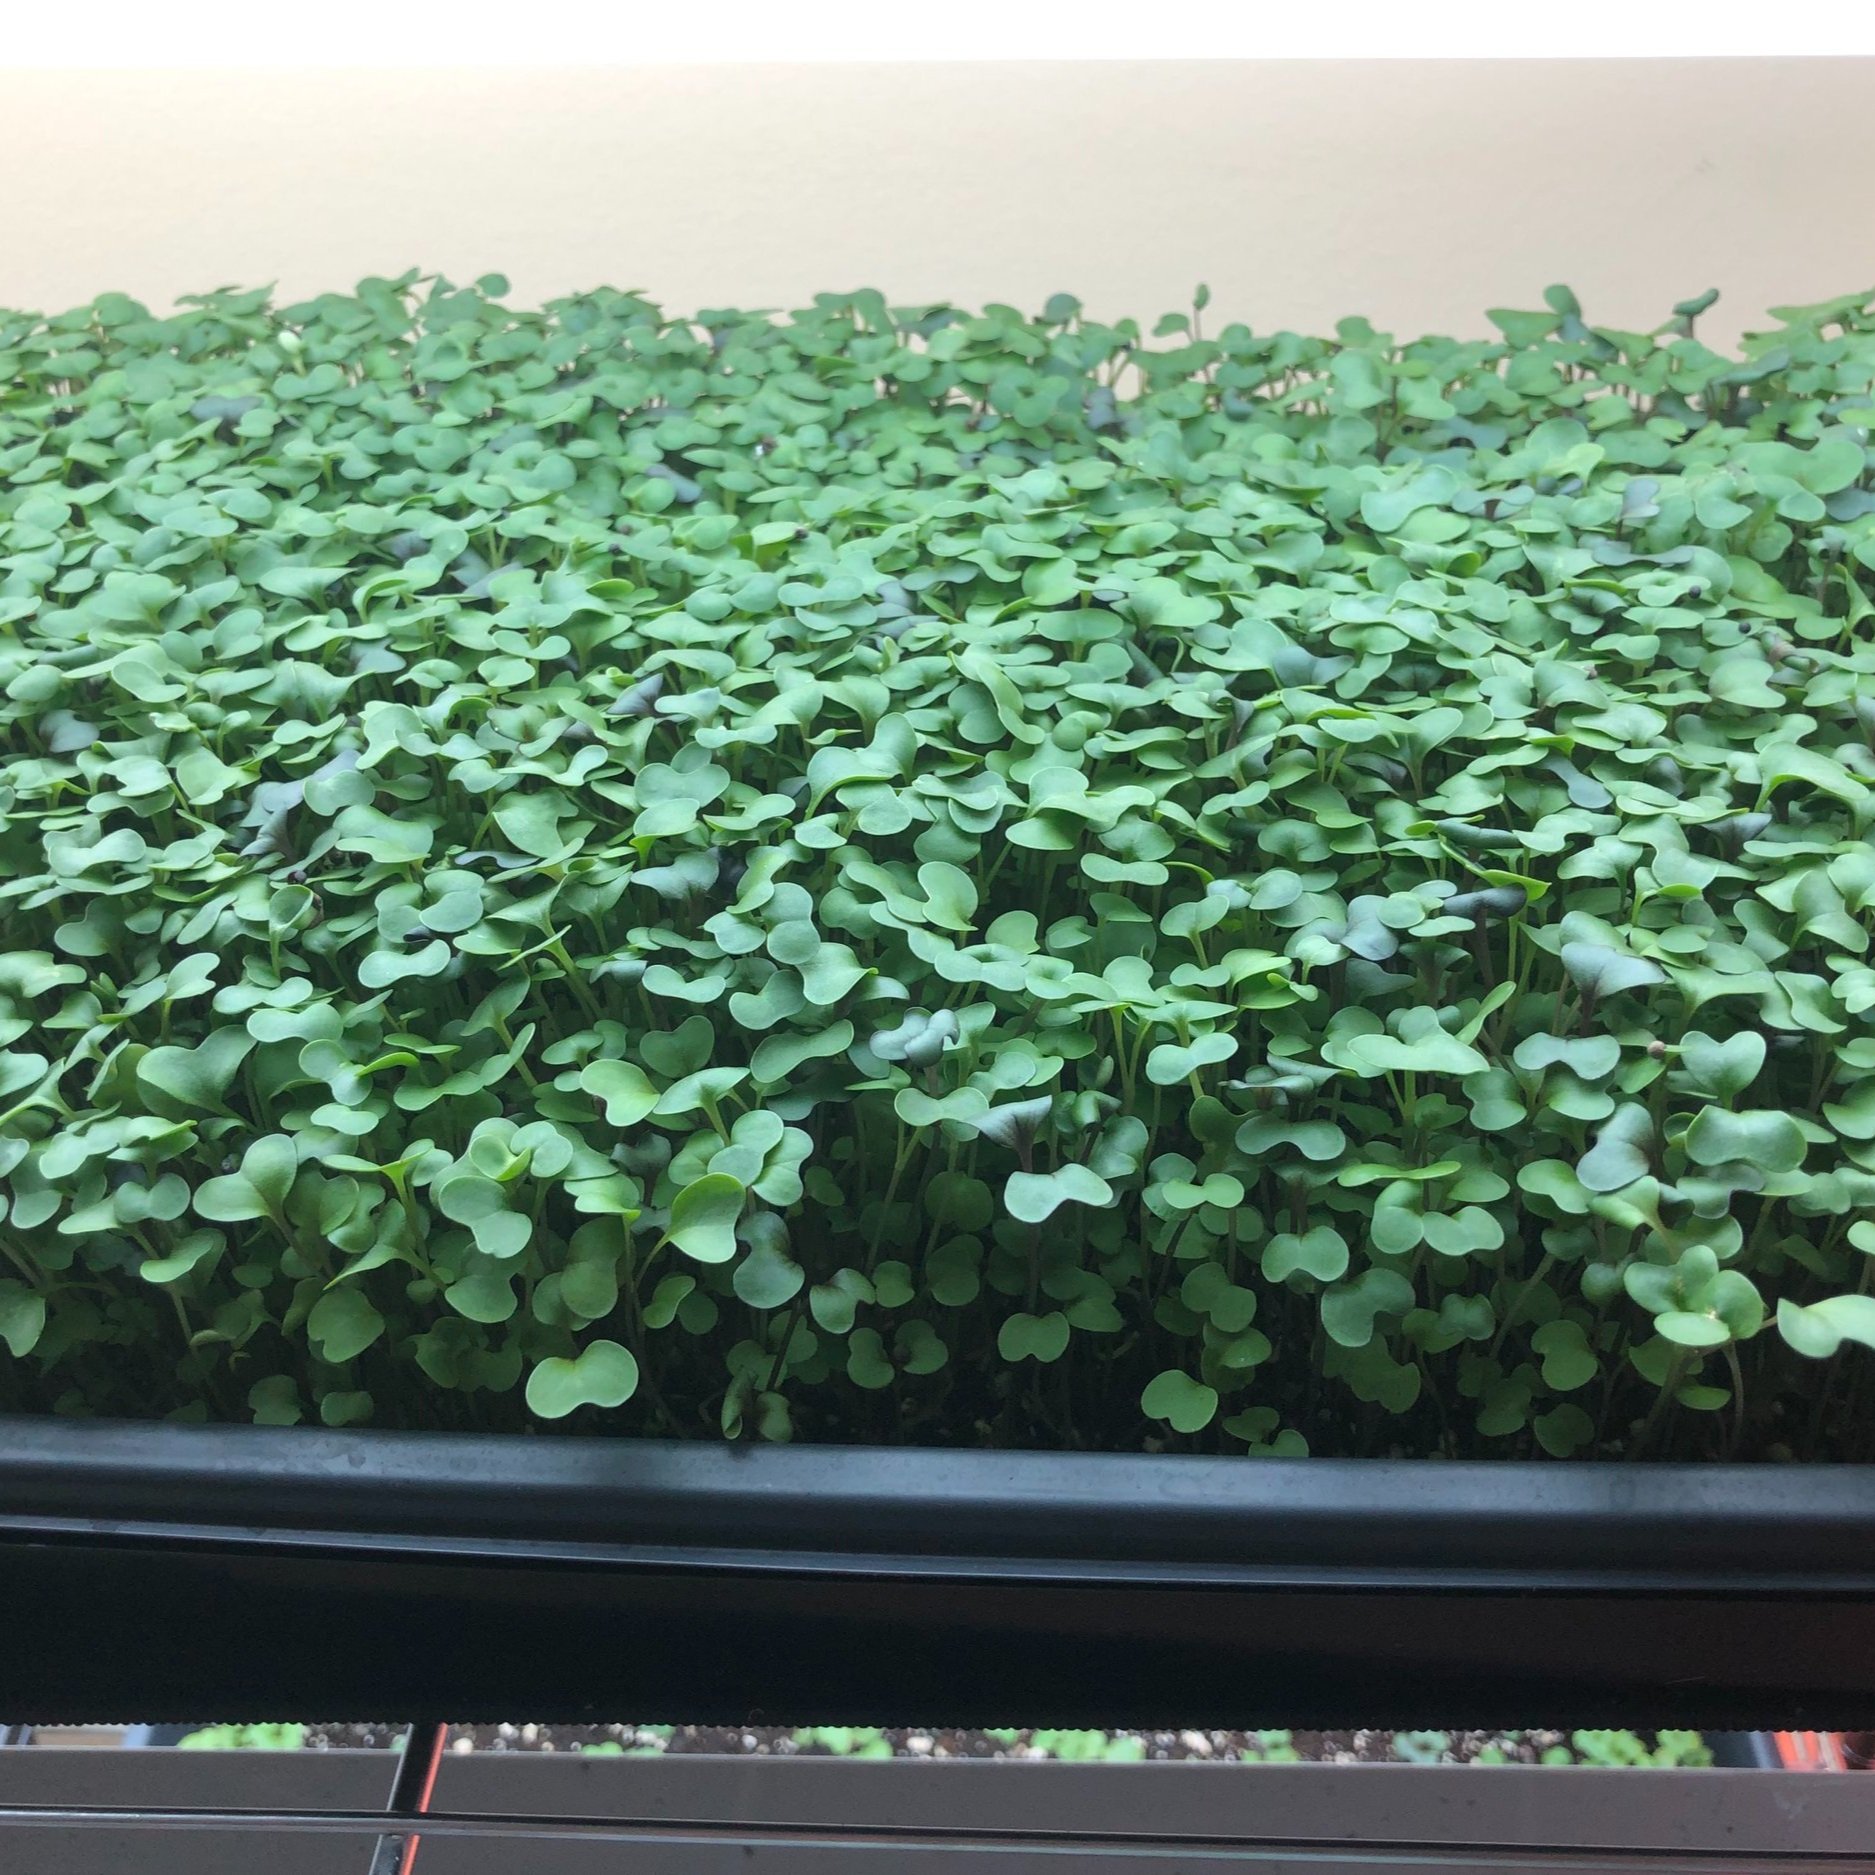
6. Depending on the variety, your seedlings will be ready to harvest in seven to 10 days (sometimes more). You can tell your microgreens are ready to harvest once the seedlings stand two to three inches tall and have bright green leaves. At this point, you’ll want to harvest soon, or else the leaves may become bitter. Trim your greens down to about one-quarter inch with kitchen shears or a knife, and store in a dry container in the fridge. Wrap them in a paper towel, in a pyrex with a muslin cloth, or an upcycled clamshell container with holes. Do not wash the greens until immediately before you eat them since that will shorten their shelf life; you can even forgo washing them altogether since you know where they were grown.
7. The remaining soil (which will now be a carpet-like mat) can be composted, but since the root systems are so dense, you won’t be able to reuse it. If you want to use your scraps as compost, you’ll want to make sure the pile reaches adequate temperatures and is turned properly to eliminate pathogens and support the organisms breaking down the scraps. (Reaching adequate temperatures is especially important if you want to use your compost for growing food!)
Where To Learn More
And now you have tasty microgreens to add to your favorite recipes! Here are a few resources you can turn to for further reading and learning. Remember, your local farmers and master gardeners can be an invaluable resource to understanding what works best in your plant hardiness zone and for swapping best practices. Happy growing!
“Remember, your local farmers and master gardeners can be an invaluable resource.”
-
Watch how-to videos from True Leaf Market.
-
Bootstrap Farmer’s blog is excellent for troubleshooting common issues.
-
Stay up-to-date with all things sprouting with this podcast and this podcast (they’re both called “The Microgreens Podcast”!).
-
Prefer to dive into a good book? Microgreens and Sprouts, Shoots, & Microgreens are good places to start.
Emily Torres is the Editorial Director at The Good Trade. Born and raised in Indiana, she studied Creative Writing and Business at Indiana University. You can usually find her in her colorful Los Angeles apartment journaling, caring for her rabbits, or gaming.

